Here's a video of one simple design:
This video inspired me to attempt to make my own mash mixer with an unused ice cream maker in my garage that I purchased off amazon for $25.

I have a 10 gallon mash tun from Northern Brewer:
All-grain System Mash Tun - 10 gallons

In addition to the ice cream maker, I bought a 2' x 1/2" copper pipe ($5), male and female fittings for the pipe so that I could easily detach it from the motor ($5; optional), and some zip-ties ($2).
In addition to the ice cream maker, I bought a 2' x 1/2" copper pipe ($5), male and female fittings for the pipe so that I could easily detach it from the motor ($5; optional), and some zip-ties ($2).
Here's how I made it:
1. Cut the pip into a 5" and 15 1/4" sections. Add the male fitting to the short tube and the female to the long one. Solder them in place.


2. Epoxy the lid of the ice cream to the motor shaft being sure not to glue the motor to the housing (it won't turn if you do!). Then glue the shore pipe into the inside hole of the lid.

3. Cut 2" off the bottom of the outer ice cream bucket.

4. Drill an 1 1/4" hole in the top for you mash tun lid. Do it slowly or the plastic will crack.


5. Place the blue ice cream maker bucket on top of the mash tun lid, centered. Mark 4 spots on the lid on either side of the bucket. Drill two holes on each side of the 4 marks so that you can run zip ties through them. Drill four holes in the side of the bucket to run the zip ties through. Add zip ties. Duct tape the zip ties on the bottom of the lid to prevent moisture from getting inside the lid.


6. To make the mixer blade, draw two 4 x 7 1/2" squares on the ice cream maker aluminum inner bucket, and drill 8 x 1 1/4" holes in them. The cut out and flatten the two pieces.


7. Attach the flattened pieces to the plastic blade that came with the ice cream maker with 4 zip ties each, and curve as you like. Add this blade to the end of the long copper tube, ~ 1" inside the tube (you can heat the copper tube with a blow torch to make this easier... do it in a vented room). Drill a hole through the copper tube and plastic blade and add a 1/2' metal screw to fasten (the drill bit broke off in mine so no screw necessary).


8. Place the lid over the mixer blade shaft, then screw it into the motor fixing and you are done! You can add a switch or a timer to the plug if you want to make it easier to turn on and off.

Note! It's important to reduce both shear and oxygenation in the mash, both of which depend on your mixer design and mixing speed. I made this mixer tall by design, but have a feeling I will shorten it once I've tested out in an actual mash, if it A) rises above the grain bed B) vortextes the mash, or C) causes the mash to rotate with the blade. If I do, I'll likely bring the blade down to 3" tall and turn it away from the direction of rotation . I'll test this design out, and update this post.
So, after testing it out, there is quite a bit of drag using the "larger blade". Fortunately, I still have the other half of the aluminum bucket from the ice cream maker so I decided to make an alternate blade that is shorter and has a thinner profile going through the grain bed. It will have a lower blade that is wide to scoop the grain off the bottom of the tun and a thinner one higher up to help mix the grain on top:
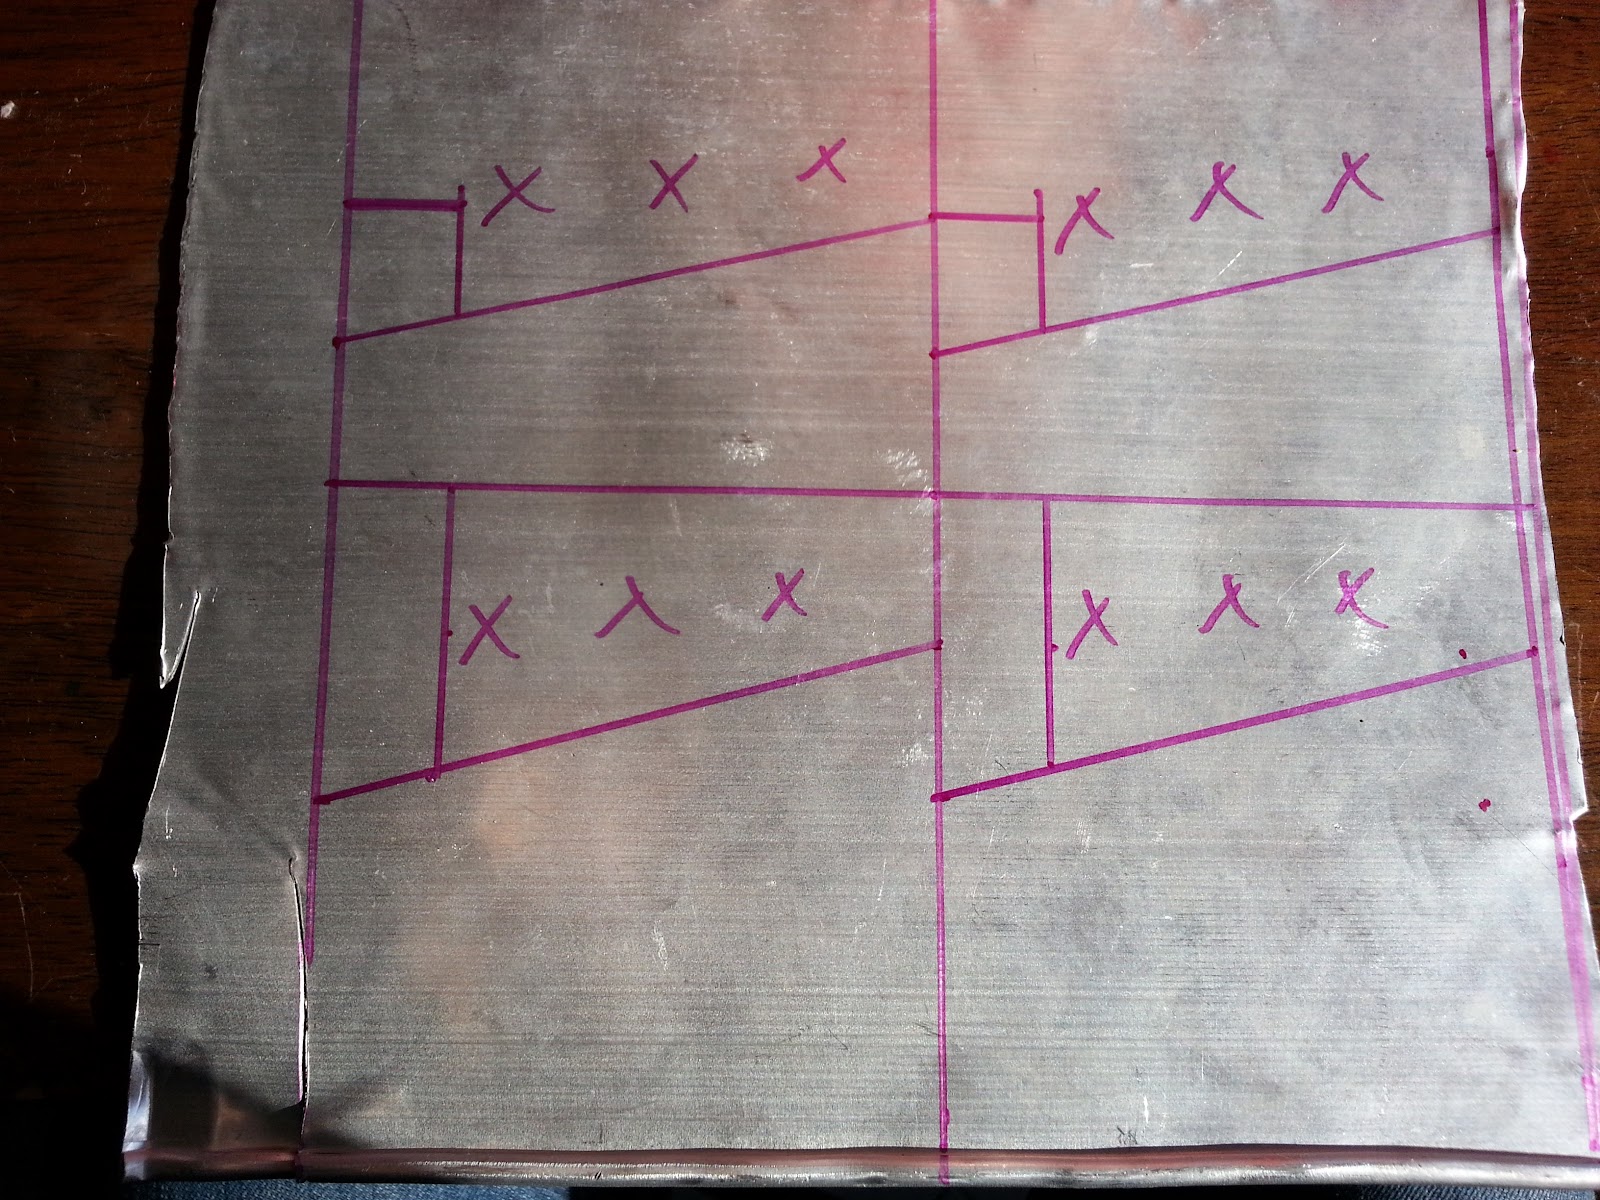
The xxx will be cut out. The blade is 4 x 5", with the bottom blade 2" at the base tapering to 3" at the end and the top blade being 1" at the base tapering to 2". The taper lets me bend the blade back so gain can fold over the top. Once cut out, I zip tied it to the ice cream mixer blade and bent then to shape by hand. These have less drag. So now I have a wide blade that can be used in high water to grist ratio mashes and a narrow one for more dense mashes.


No comments:
Post a Comment